
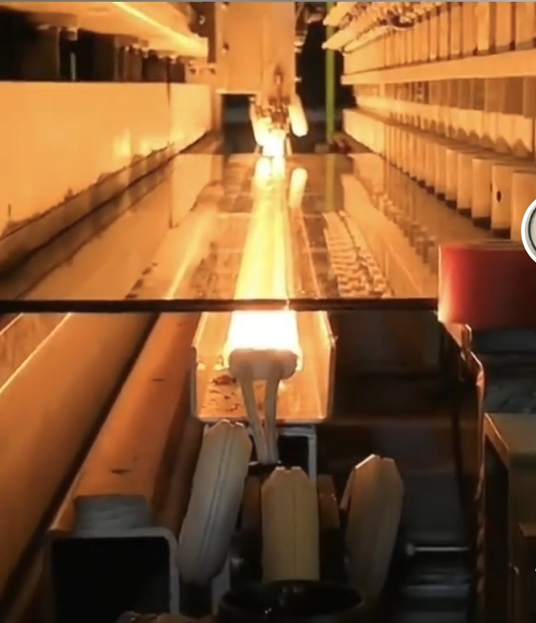
Stop Fighting Your Glass Cutter Heaters
If you’ve ever built or upgraded a glass bottle cutter, you know the headache. You find a great heating element, but the second you try to install it, everything goes wrong. The mounting bracket is off by a few millimeters. The wiring doesn’t reach. Suddenly, a simple part swap turns into a full afternoon of redesigning your entire setup. It’s frustrating. And honestly? It’s a waste of time.
No More “Almost Fits”
We got tired of that cycle. That’s why we focused on making these heaters actually fit the gear you already own. Whether you’re using a standard screw-in head or some weird, custom shape you found in an old industrial machine, these are designed to just… work. Most DIY setups fall apart during the “drop-in” phase because the terminals are in the wrong spot. We fixed that. Now, when an element burns out, you just swap it. No new parts to machine. No swearing at your workbench.
Just Plug It In and Go
The goal was simple: make the upgrade painless. We spent a lot of time on the mechanical footprint. If you’ve got a spiral head or some proprietary design, the connection points should line up with what’s already out there. You wire it up, tighten the mount, and you’re back in business. No annoying adapters required. Think about the time you save. In a real shop, spending four hours hacking away at a bracket just to fit a new heater is a nightmare. We just stripped that whole mess out of the process.
One Thing to Keep in Mind
Now, here’s the catch. Having a universal fit is great for flexibility, but you have to be mindful of your tolerances. Since these fit a wide variety of machines, there’s a chance you’ll have a bit of a loose fit if your housing is irregular. If the element isn’t centered, your heat won’t be even.**Make sure your mounting clamps are tight.**You need a solid thermal bridge between the heater and the glass. If there’s a gap, your heating speed will tank, and you’ll be sitting there waiting for the glass to get hot. Tighten it down, and you’re golden.