Keeping Your Outdoor Heaters Running (Without the Headache)
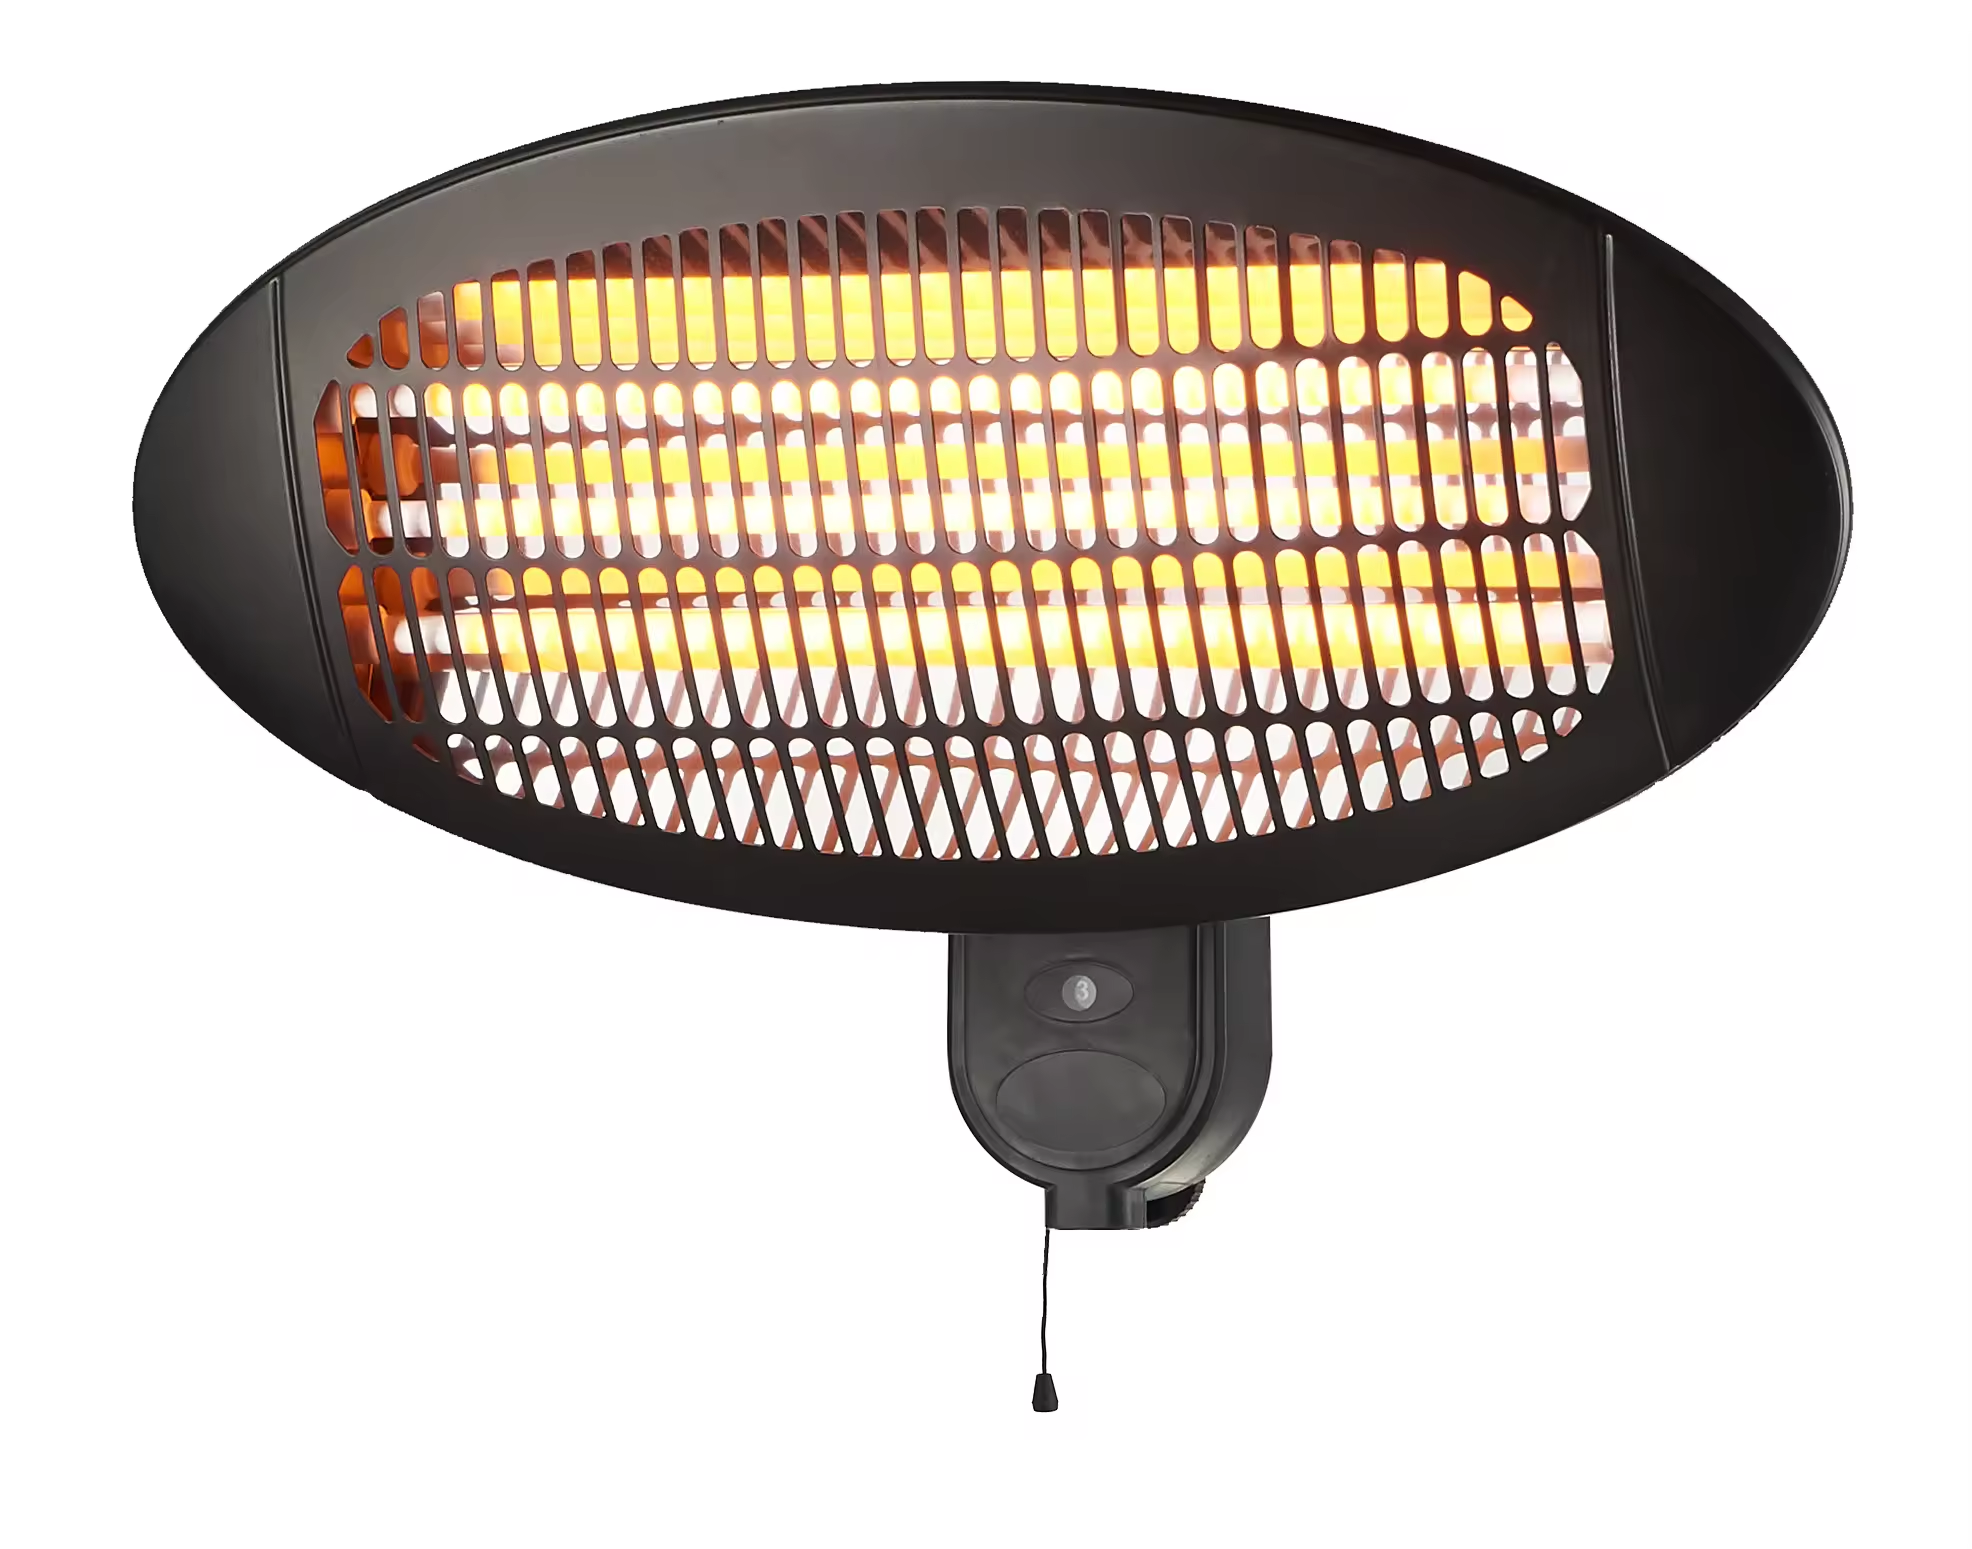
If you’ve ever put a heater in a garden, you know the drill. Rain, dust, and general outdoor chaos are always trying to get inside. We build our units to an IP65 standard to keep the guts dry, but let’s be honest: the heating elements are consumables. They’re going to burn out eventually. The real trick isn’t just keeping the water out. It’s making sure that when a tube pops five years from now, you aren’t spending your entire Saturday tearing the whole machine apart just to fix one part. The “Plug and Play” Approach We decided to keep the power electronics and the infrared emitters separate. Instead of soldering everything together in a giant knot of wires, we use quick-connect terminals. It’s simple. When a tube goes, you don’t have to play electrician. You just pull the old module out and drop a new one in. The Struggle with Weather-Sealing Here’s the thing about IP65 ratings: they usually require gaskets so tight that getting inside the unit feels like trying to crack a safe. It’s a nightmare. To get around that, we added a removable front bezel and a tray that slides right out. This means you can swap your tubes without ever touching—or ruining—the main weather seal on the control box. Real-World Repairs In a typical heater, replacing a tube is a chore. You’re looking at an hour of dismantling and swearing. With this setup? Ten minutes. Unscrew the clips, unplug the lead, slide in the new quartz tube. Done. But there is one catch. More connection points mean more places for things to go wrong. If a contact isn’t seated firmly, you can get arcing, which is a big no-no for high-wattage outdoor gear. Plus, metal expands and shrinks when it gets hot and cold. Over a few years, things can loosen up, and you’ll notice the heat dropping. To stop that from happening, we use spring-loaded tensioners. They keep the fit tight and the power flowing, no matter how many winters the heater goes through.